How to Use a Green Screen: The Complete Guide
Do you know what the staircases in Harry Potter and The Great Gatsby’s house have in common? Neither of them exists! Those scenes, just like many others, were made entirely with green screen technology. Amazing, isn’t it?
Green screens have become an essential tool for filmmakers, photographers, and content creators. This simple yet powerful technique enables them to create immersive and dynamic visuals, transporting their subjects to any location or environment imaginable. From blockbuster movies to corporate presentations and product displays, green screens have revolutionised the way we tell stories and communicate ideas.
But how do you use green screen technology properly and efficiently? What necessary steps should you take? And how can you get the most out of your green screen setup? Dive right into our Complete Green Screen Guide, where we’ll explore the world of green screens by providing essential knowledge, helpful life hacks, and creative ideas to help you create stunning visuals with this versatile technology.
How do Green Screens Work?
Green screen technology, also known as chroma keying, works by using a single colour as a background in video or photo production, which is later replaced with another image or video clip in post-production.It can be a still picture, a video clip, or even a digital animation. Green screen provides endless possibilities and a lot of space for your creative output, but there are quite a few things to consider when playing with this amazing tool.
Step By Step Guide to Using a Green Screen
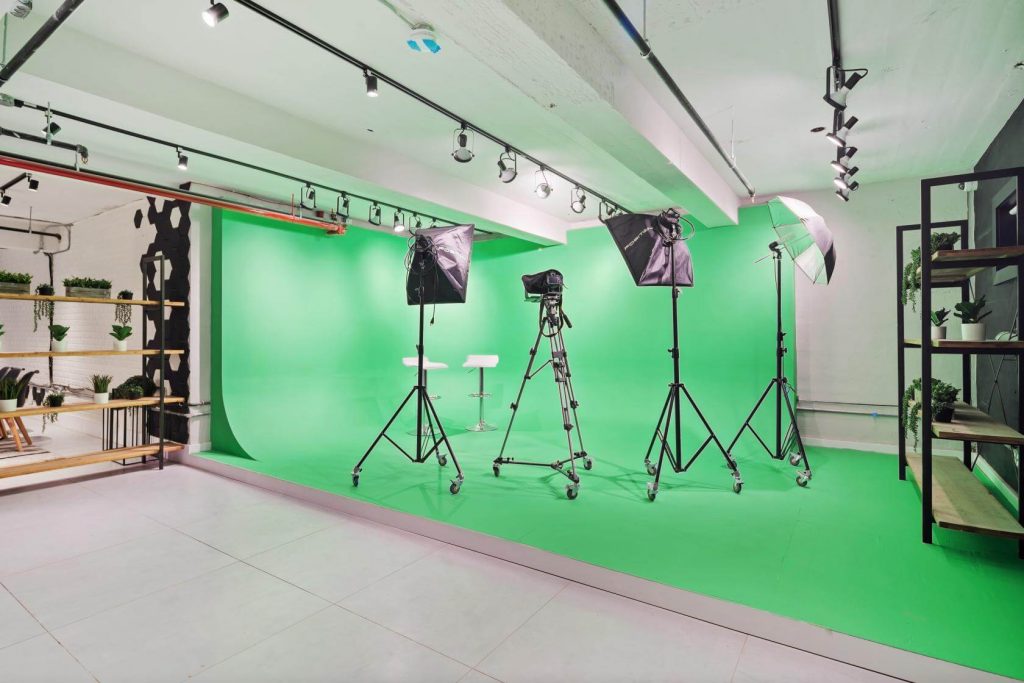
1. First things First
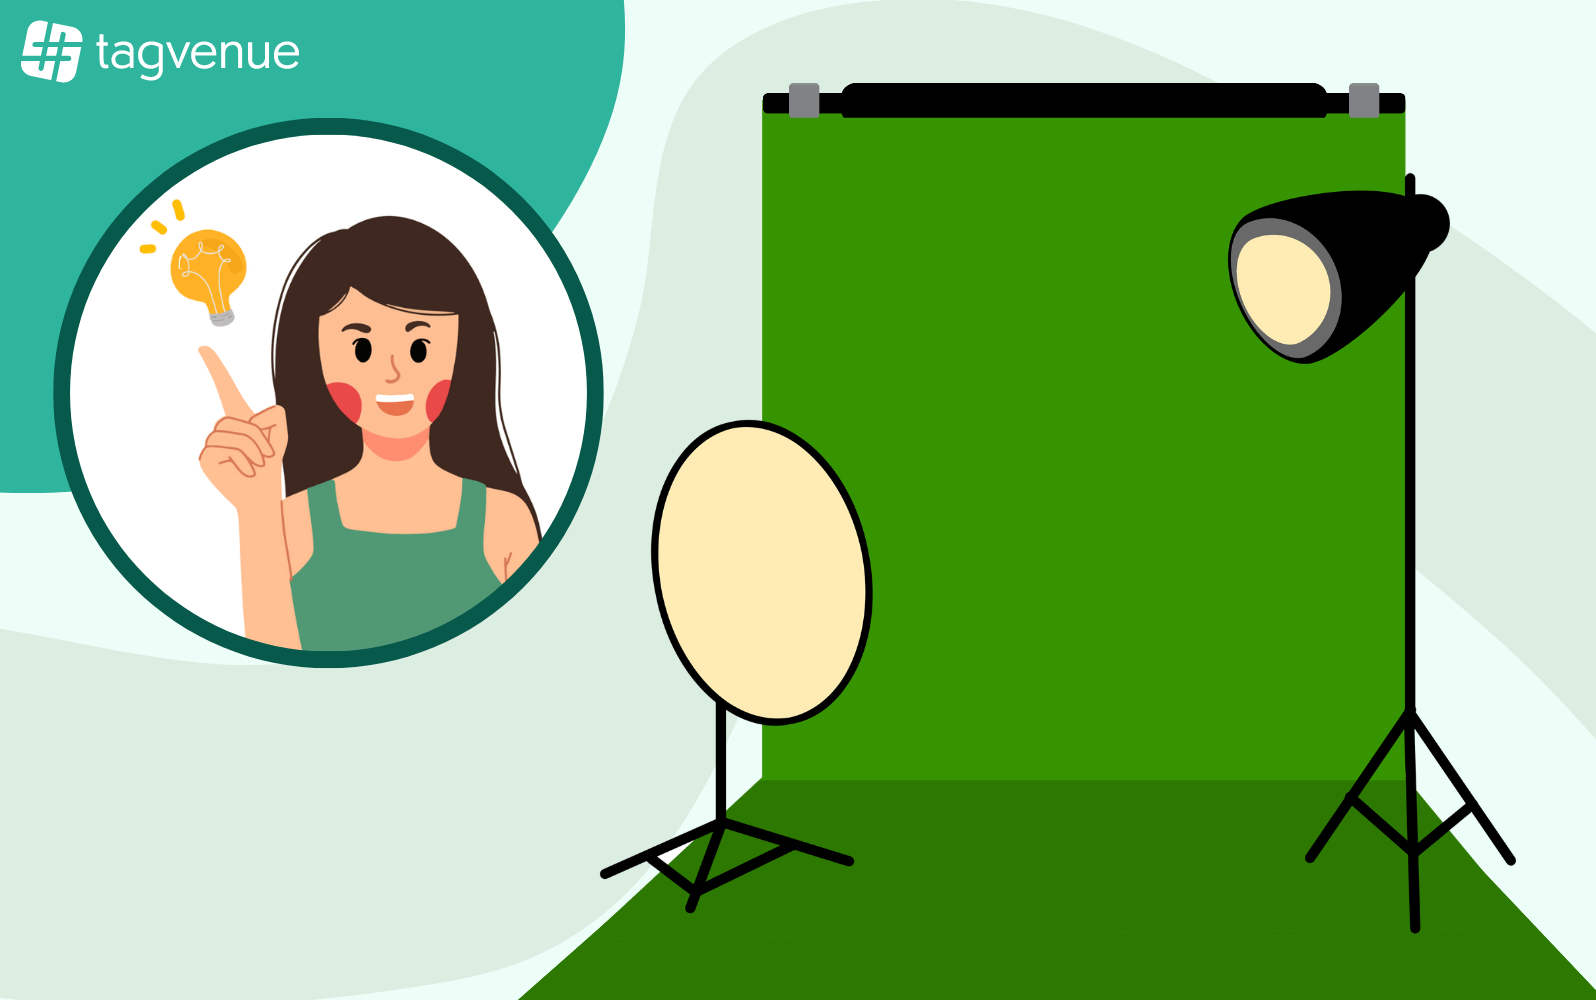
Find a space that is large enough to accommodate the green screen and your subject. Hang the green screen behind your subject, making sure it is wrinkle-free and evenly lit. Use a stand or a wall mount to hold the green screen in place, rather than letting it drop unsupported. There are countless options to choose from when buying a green screen kit. Make sure to match your equipment to the capabilities of your chosen space.
Pro tip: To save some money, you can easily try making your own DIY green screen at home.
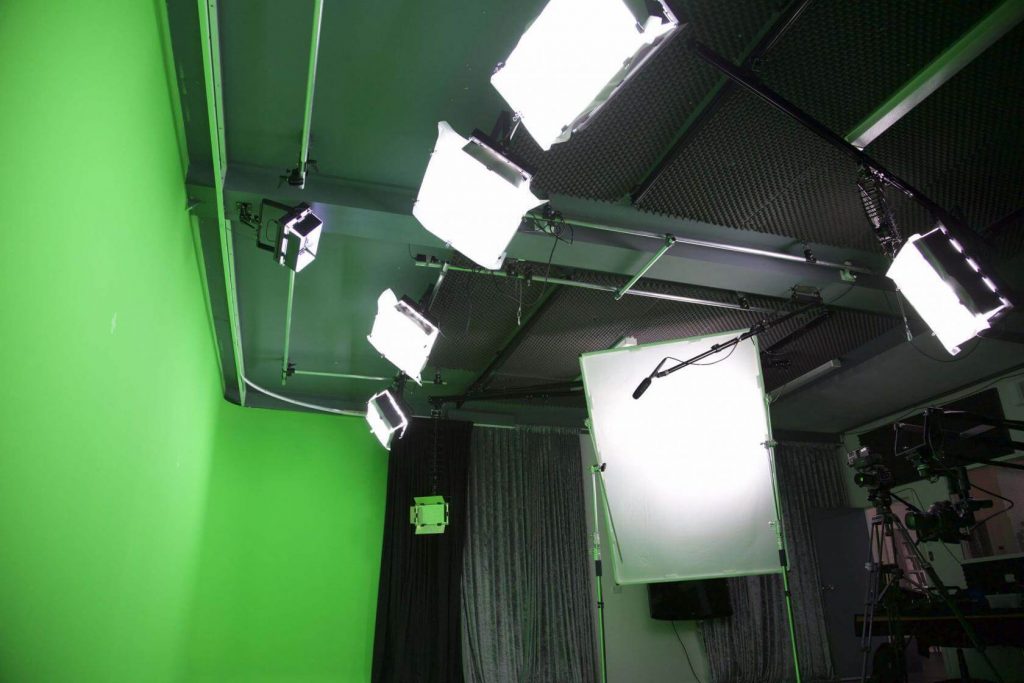
2. Lighting is Key
It’s important to have even lighting on your green screen, as any shadows or inconsistencies can affect the final product. Use soft, diffused lighting to create an even spread of light across the green screen. Avoid harsh lighting that creates shadows or hotspots. If you’re a beginner and don’t have access to professional lights, try out different positions to see what will work best for you.
Pro tip: Light your screen first, then your subject.
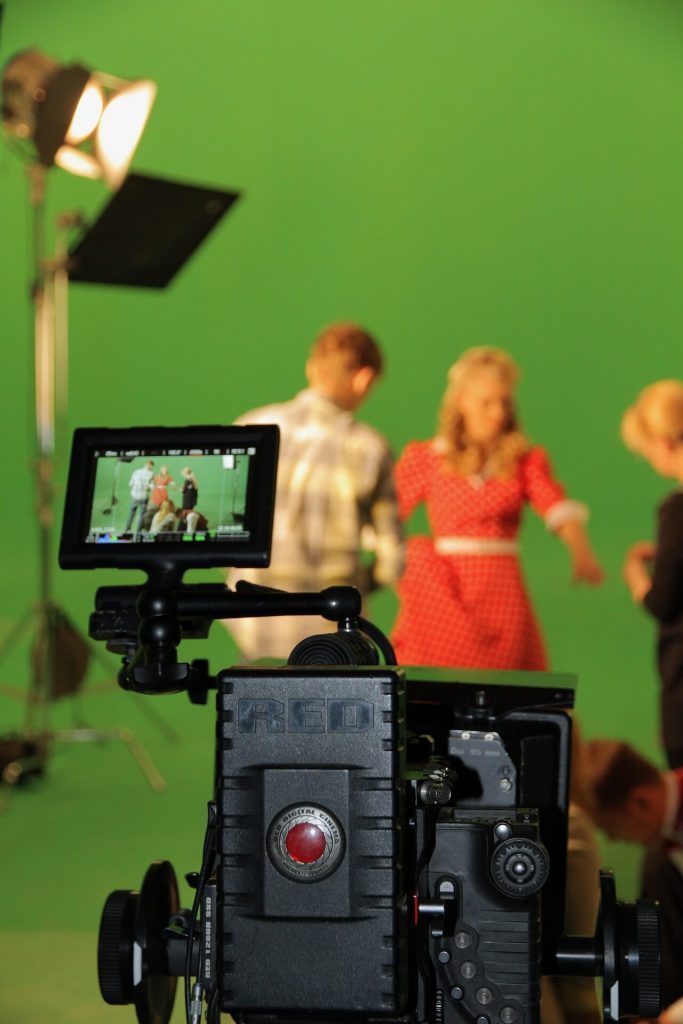
3. Proper Placement
Once your green screen is set up and lit, you can start positioning your subjects in front of it. Remember to leave enough space in between, so the subjects won’t cast any shadows on the background. These can be a challenge to edit out later! Next, position your camera, making sure it is level and at a 90 degree angle to the screen.
Pro tip: It is best to maintain a distance of 3 to 4 metres (10 to 15 feet) between your subject and the screen to prevent shadows and green spill.
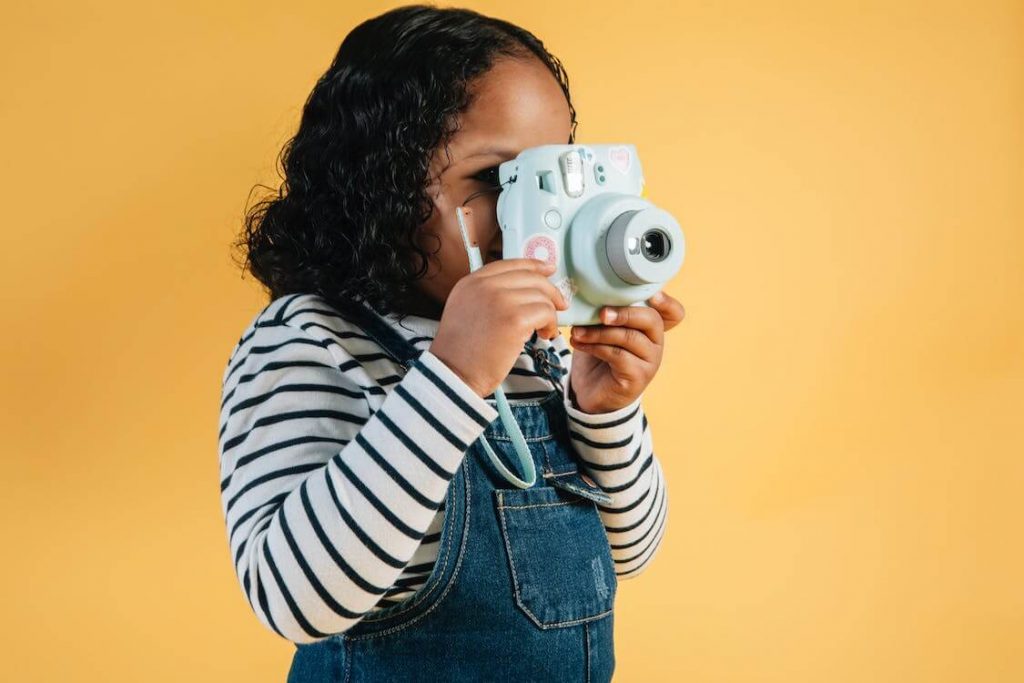
4. Choose the Right Equipment
Higher price does not always mean better quality! Make sure to do proper research and get the best out of the equipment you have on hand. Even with just a smartphone and a special app you can create impressive green screen effects on your video footage or photos.
If you’re feeling more advanced we recommend a DSLR or mirrorless camera as they offer more manual control over key settings.
Pro tip: Whatever equipment you use, try to manually adjust the exposure, shutter speed, and ISO based on your lighting conditions.
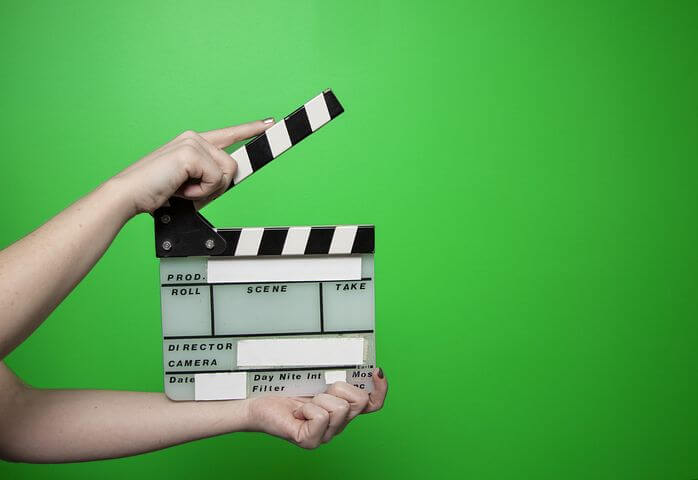
5. Take Your Shots
When everything is ready, it’s time for the main part of your production process! Make sure you thoroughly plan your vision beforehand, so you can properly advise your crew and models on what actions to take. Remember to remove any objects or clothing from your frame that are the same colour as your background to prevent interference with your green screen, also known as green spill.
Pro tip: The predominantly monotone green background of the set can be distracting and confusing. To help you visualise the final result, try sketching it out beforehand. Having a rough draft on hand while shooting will help you concentrate on the main concept.
Celebrating a successful production process is also an important step, so make sure to check out our listings of remarkable bars and pubs where you can toast your completed work with other kinds of shots 😉
6. All About Editing
When you have all your desired scenes and captures, it’s time to rest and gain strength for the last stage of using the green screen, post-production editing. It may seem discouraging at first, but the whole idea of the green screen is to make editing easier, faster, and more pleasurable. Download some user-friendly editing software like Adobe Premiere Pro, Final Cut Pro, or Davinci Resolve and check out their tutorials. Some additional things to remember while editing:
- If you’re dealing with footage, make a rough draft first to avoid editing shots that you eventually won’t use.
- When choosing a background, consider the depth of your scenery. Make adjustments for the real dimensions of your chosen place so the foreground and background match up.
- Do research on editing software, try a couple of free trials, and make sure the one you choose is equipped with chroma key tools.
Once you have finished editing, export your photo or video in your desired format and size. It’s important to choose the right format based on your needs and the type of media you are working with, as each format has its own strengths and weaknesses.
Green Screen Life Hacks
Safety First
Make sure everything is properly secured and strapped down. In a dynamic environment, such as a movie set and photography studio, it’s really easy to stumble or drop something. Use tools such as tripods and iron weights to hold your equipment in place.
Cutouts
Use your green screen as a simple background for cutouts. With a simple and plain background, cutting out a person or an object will be a hundred times easier than with a location shoot. Reuse your captures and save some time!
Green Screen Suit
Feeling like you need an upgrade? Add a green screen suit to your kit! These are mostly used to hide ‘helpers’ on set who may need to hold something or carry out an action. They are extremely useful for creating training videos or product demonstrations. Later on you can always use it as an alien disguise for a costume party!
If you don’t have a suitable space to set up a green screen, make sure to check out available photo studios in your area! At Tagvenue, we have listings for numerous film and photography spaces that provide the type of equipment you’ll need, as well as other production essentials.
Get Inspired
With the green screen’s enormous potential you are likely to experience an Idea Overflow. The more ideas and inspirations you have, the less likely you are to pursue any of them. To narrow it down a little, here are some propositions for your next green screen production creativity bust.
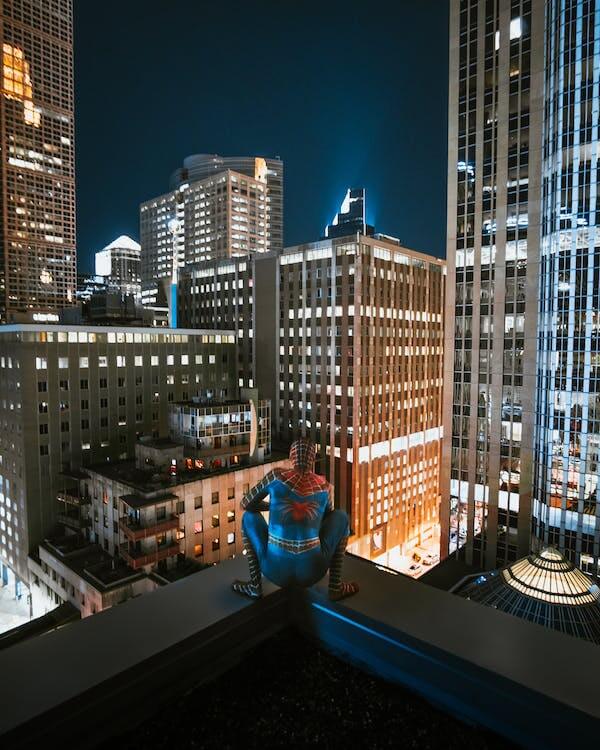
Like a Superhero
Explore the fantastic world of superheroes with green screen captures worthy of a Hollywood blockbuster. By using green screen technology you can transform the background into an atmospheric metropolis or a battlefield filled with monsters. Additionally, a green screen suit and an extra pair of hands can be used to help your subjects fly! Are there any fellow Marvel fans out there who are also super excited about this idea?
Floating Objects
If you’re already going against gravity with your models, why not take it a step further? Your products will look phenomenal when hoisted in the air and displayed against a mesmerising background. You can put them on a stool covered in green screen material or hang them on a thin wire in front of your green screen. Just remember not to cast any shadows onto your background!
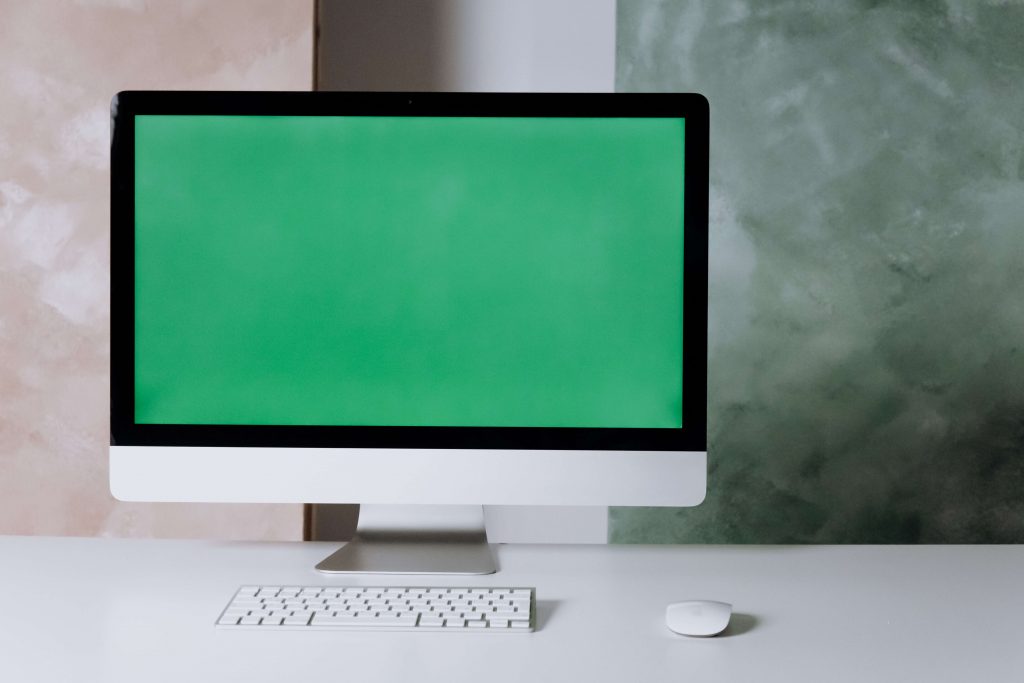
Simple Colour Change
You don’t always have to use your green screen to add complex realities and landscapes to your photos. It’s cheaper to use a green screen and digitally change your background colour than to buy multiple canvases for each project. One green screen will be more than enough to display your subject in front of any type of background you can think of.
Customise Your Scenery
Green screens give you the ability to change the whole reality in your frame as well as manipulate images only on a given surface. If you want to change your backdrop only on a particular fragment, try cutting out desired shapes from your green screen material or painting them directly onto your scene.
Key Takeaways
With green screens becoming more and more popular in various creative production fields (including education, marketing, and entertainment), it can be hard to wrap your head around this technology at first.
Don’t get discouraged by any struggles when you are first starting out. Always remember to have fun with your green screen! The technology was made to simplify the process of editing. And advancements are continuously being made to help creators bring their visions to life.
Whether you are a professional filmmaker or a content creator, understanding the basics of green screens and chroma keying can help you take your projects to the next level and create more engaging and visually appealing content. Our Complete Green Screen Guide will help you out with that!
FAQ
What is a green screen and how does it work?
A green screen is a sheet of fabric or material that is used as a backdrop for filming or photography. The green colour is used because it is not commonly found in skin tones or clothing. When the footage is later edited in post-production, the green screen is digitally replaced with a different image or background.
What is the difference between a green screen and a blue screen?
Both green and blue screens are commonly used for chroma keying, which is the process of removing the background of an image or video. The difference is that green screens are used more often because green is a brighter colour than blue and it is less likely to cause colour spill or reflections. However, if you need to shoot a green product or in a lower light background, a blue screen will suit your needs better.
What is the best material to use for a green screen?
The best material to use for a green screen is a matte fabric or material that is a consistent shade of green. Muslin, cotton, or spandex are good choices for a green screen because they do not reflect light as much as other materials.
What are some common mistakes to avoid when using a green screen?
Some common mistakes to avoid when using a green screen include uneven lighting, green spill, and subject movement. To avoid these mistakes, it’s important to properly light the screen, use a quality camera, make sure the subject is properly positioned and does not move too much during the production process.
Related articles
See all