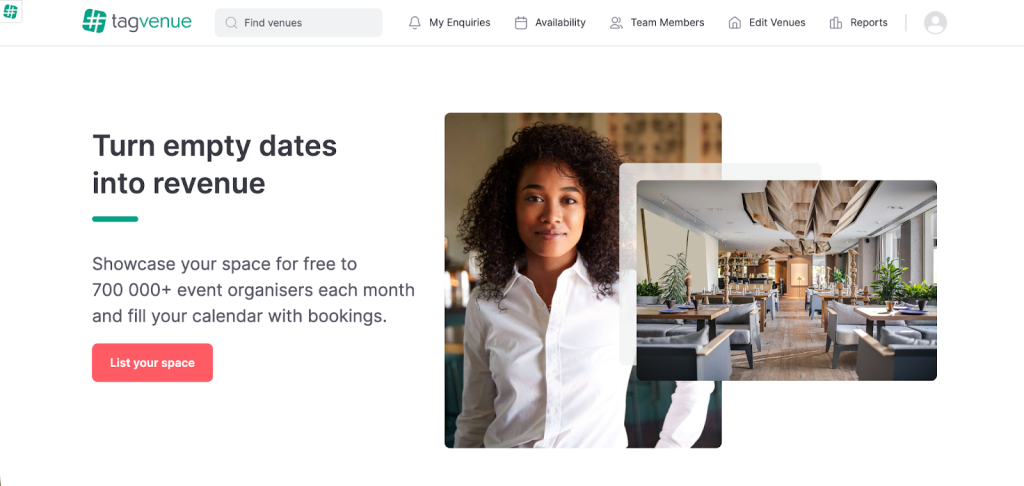
How to List Your Space to Make More Money on Tagvenue

Every week, many new venues join Tagvenue, contributing to a network of over 20,000 venues. Every day, the platform generates enquiries and bookings spanning everything from corporate off-sites and workshops to private celebrations and filming sessions. Some venues start receiving enquiries within days of going live on the platform. Others sit quietly, waiting. The difference isn’t luck. It’s how the listing is positioned.
Becoming a Tagvenue host is easy, but standing out requires intention. This guide walks you through how to set up your listing so it attracts enquiries and consistent bookings.
Step 1: Create Your Host Account
Visit the “List Your Venue” page, enter your details, verify your email, and access your host dashboard. This is where you will build and manage your venue profile. This part is straightforward. What determines your success is everything that follows.
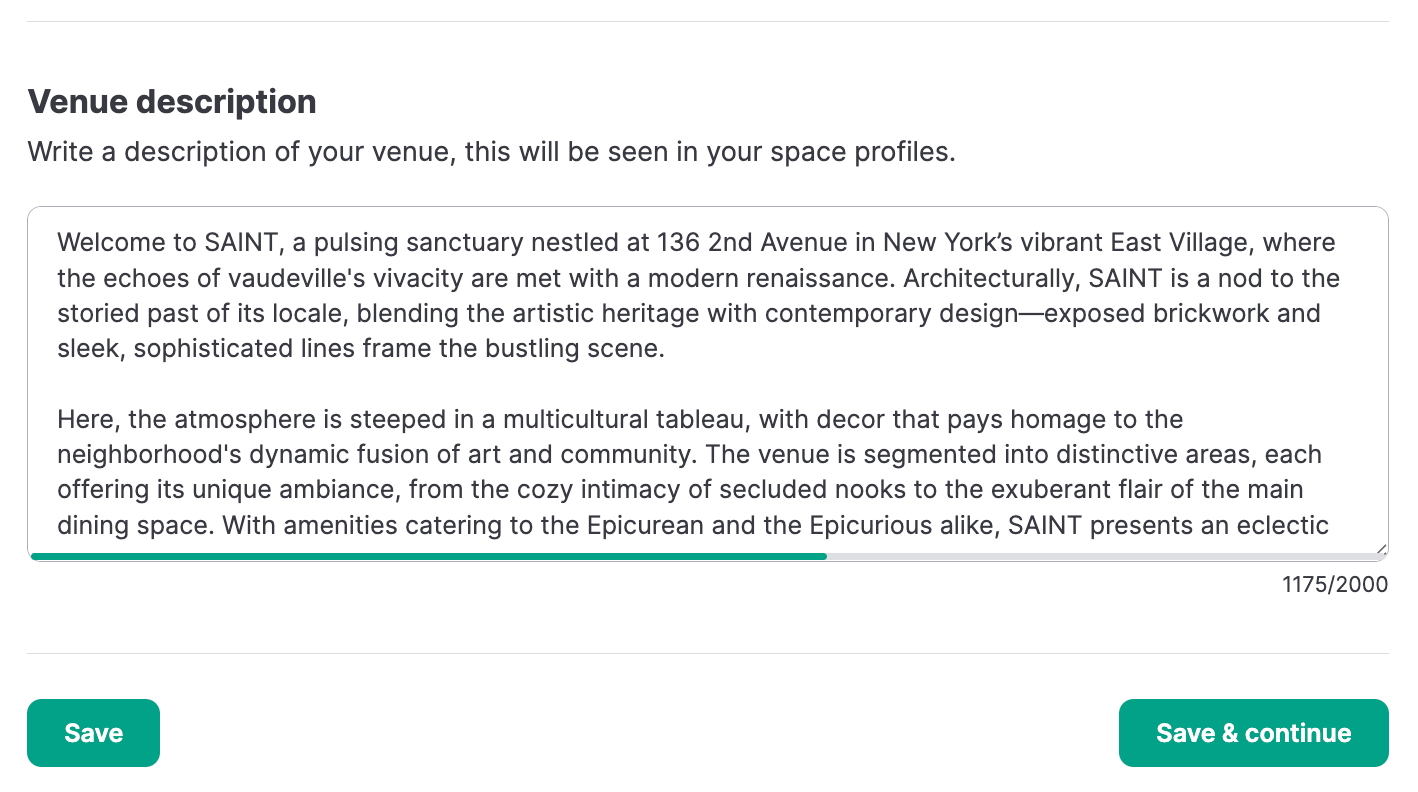
Step 2: Write a Description That Sells Many Possibilities
Many hosts miss an opportunity here. Your venue description should do more than name features; it should clearly state what clients can use your space for.
Instead of: “Industrial bar with exposed brick and wooden flooring.”
Write: “A versatile industrial-style venue ideal for team workshops, networking events, private parties, filming, and brand activations. Features an exposed brick bar inside a Grade III listed building with original architectural details.”
The clearer you define use cases, the easier it is for clients to picture their event in your space.
Be specific about the types of events you accommodate:
- Corporate meetings and off-sites
- Workshops and training sessions
- Private celebrations
- Filming and production
- Networking events
- Product launches
Uniqueness matters, so if your venue has history, character, architectural value, or a distinctive concept, say so. Phrases such as “former speakeasy”, “converted warehouse”, or “heritage-listed building” immediately create differentiation.
Also mention how you support clients:
- Event coordination
- AV setup
- Trusted supplier recommendations)
This builds confidence and improves enquiry quality.
Even if your venue has a primary identity, it likely serves multiple purposes. Make that versatility obvious in your description. Broader positioning increases search visibility and relevance.
Step 3: Upload High-Quality Photos That Show Multiple Setups
Photos drive first impressions. Listings that generate consistent enquiries include:
- Wide shots of the main space
- Close-ups of details
- Daytime and evening lighting
- Multiple layout configurations
If your venue hosts meetings and standing events, show both. If it transforms from day to night, show that too. One image limits imagination. Multiple setups expand it.
Step 4: Highlight Amenities Clearly
Amenities are decision drivers. Make sure your listing clearly specifies:
- Wi-Fi availability
- AV equipment (projector, screens, sound system)
- Catering options
- Accessibility
- Parking
- Outdoor areas
- Alcohol license
- Furniture flexibility
Clients often filter searches by features. If these details are missing, your venue might not appear in filtered searches. Specificity increases discoverability.

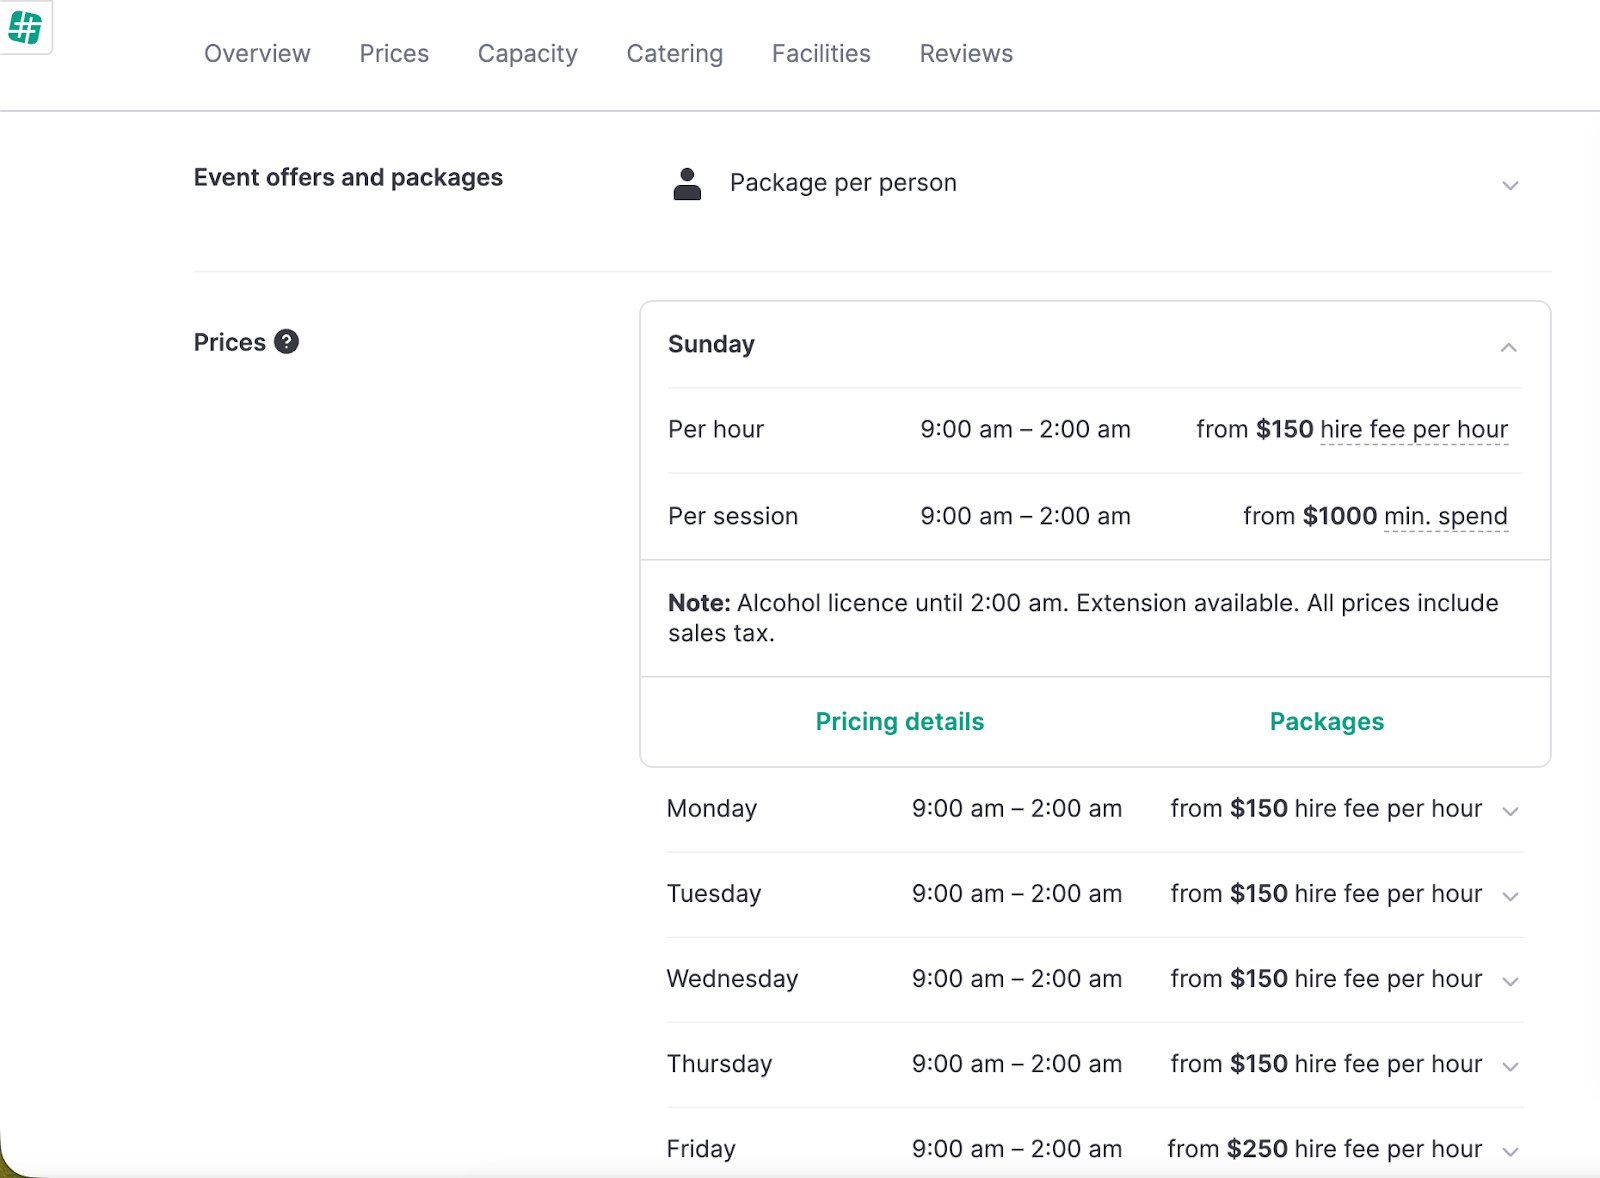
Step 5: Set a Clear, Structured Pricing Model
Confusing pricing creates hesitation. Your rates should be:
- Easy to understand
- Transparent
- Consistent
Tagvenue allows you to choose between:
- Hire fee
- Minimum spend
- Per-person pricing
- Hourly or daily rate
Whatever model you select, explain what’s included and what’s optional.
Clarify:
- Is cleaning included?
- Is AV included or charged separately?
Clear pricing reduces unnecessary back-and-forth and builds trust before the first message.
Related:
London Pub & Bar Private Hire Pricing: Smart Strategies for Setting Rates that Attract Bookings
The Winning Guide to Venue Pricing: What Every NYC Venue Owner Needs to Know
Step 6: Maximise Visibility Through Smart Categorisation
Think beyond a single label. If your venue works as a meeting room, event space, filming site, or party spot, select all those options, and ensure your description and amenities support them. Appearing in more searches increases exposure at no extra cost. Your venue is more valuable when it’s clearly positioned.
Step 7: Respond Quickly and Professionally
After your listing goes live, speed matters. Quick, clear replies show professionalism and raise your chances of a booking. Many clients contact several venues, so prompt replies matter.
The strongest listings combine:
- Clear positioning
- Strong visuals
- Transparent pricing
- Professional communication
What Makes a Tagvenue Host Stand Out
Successful hosts don’t just upload a venue, they:
- Clearly define what their space can be used for
- Showcase versatility through photos.
- Specify amenities thoroughly
- Structure pricing transparently
- Respond quickly
They reduce uncertainty at every stage.
Clients are more likely to book when they quickly understand:
- What the venue is suitable for
- What it costs
- What’s included
- What it looks like
Your Listing Is Your Sales Page
Your description should communicate potential. Your photos should show flexibility. Your amenities should remove doubt. Your pricing should build trust. When these elements align, your venue doesn’t just appear in searches, it converts.
On a platform like Tagvenue, with over 20,000 venues and thousands of active daily searches from companies and private clients, strong positioning separates listings that exist from listings that perform. That’s when hosting becomes profitable.
Related articles
See all
How to Transform Your Venue into a Multi-Purpose Event Space and Boost Revenue