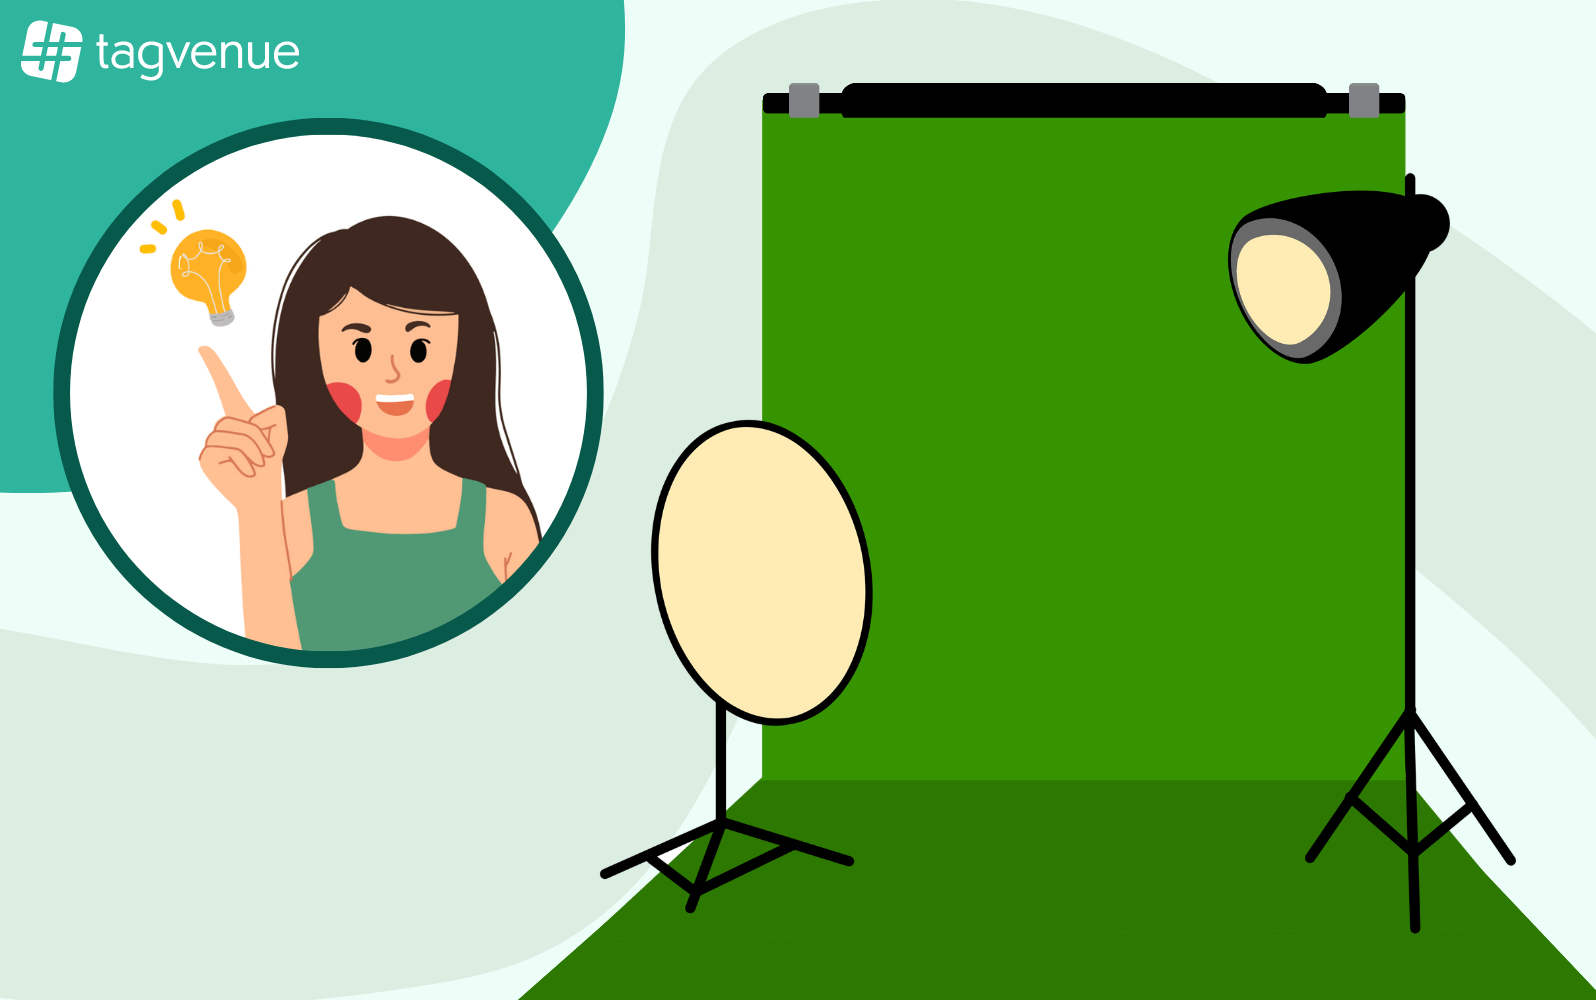
6 Ideas for Setting Up a Photography Studio: A Beginner’s Guide
Are you planning to set up a photography studio?
Whether you want to rent a professional photo studio or you’re trying to set up a home photo studio, you should know that the whole process is going to be no small feat. But if you wish to take your photography skills to the next level, you absolutely must start taking photos in a studio sooner or later.
In this article, we’re going to cover how to set up a photo studio, check out ideas for decorating a photography studio, and give you some great reasons for setting up a cheap photo studio at home. If any of those points sound like something you’re interested in, then let’s get started!
Ideas for Setting Up a Photography Studio
1. Have a plan
It can be tempting to start looking in all directions at once when you first decide to set up a photography studio.
You’re excited. You might be doing this the first time, or you’ve done it once and can’t wait to try it again. It’s no wonder you want to do it all! But don’t let yourself be tempted to think that you can just wing it when it comes to planning your studio session.
The absolute number one necessity before you search for anything else is to devise a plan!
Write down every step you must organize, and always come back to the plan if you’re unsure about what to do next. Planning to set up a photo studio is going to take a bit of time. So keep the info all in one place, and you won’t have to start panicking about forgetting or losing something when you have it right there in front of you.
So what are some of the things you have to think about before setting up a photography studio?
Apart from the basics set out in the points below (such as equipment, studio space, background, etc.), you will also have to think about the crew, the models, and how to get to the venue (if you’re not shooting in a home studio). You’ll also need to understand the logistics of the location, whether there are parking spaces, an industrial lift, or a loading dock. Other important details to learn are whether the studio will fit your budget, who’s taking care of post-production, and what equipment you will need for the actual pictures (like a list of props/costumes/etc.).
Planning is an essential part of setting up a photography studio. If you want to execute the project professionally, you should plan just as an experienced photographer would.
Even if the project you’re planning to shoot is just for fun, you should treat each photo shoot as if it were Vogue-worthy. Let this be your preparation for the world of professional photography!
📸 Check out photography tips and tricks for beginners!
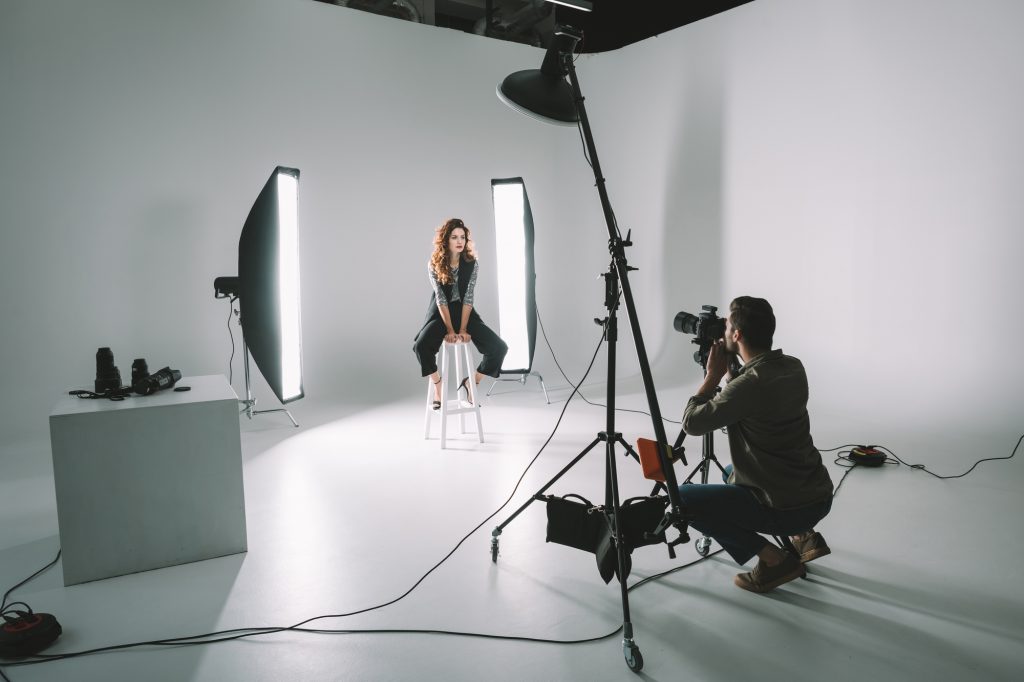
2. Check out the space
When deciding where to have your photo shoot, think about what type of space you need for the project.
- Do you need a room with a big capacity, or do you only need a small part of a studio wall for some close-up shots? Make sure the room is set up in a way that will enable you to take the photos you want. It should also have enough space for the equipment and must be big enough for everyone who will be coming to the session.
- Does the photo studio have space for make-up or a dressing room? These extra spaces are important if you’re going to have a lot of models coming in and out.
- And of course, is the look and feel of the studio going to positively impact your photos? Find a space that inspires you, and your work will show it.
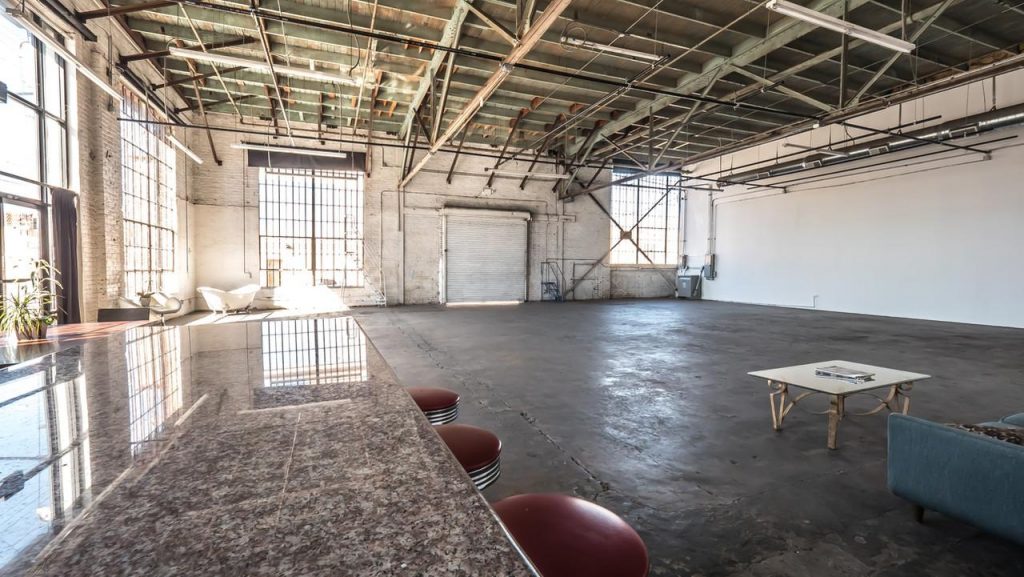
- Is it very hard to set up a photography studio at home? You don’t need a large space or a professional background in order to make it work. You can get away with a blank wall, bedsheets or curtains if you don’t want to invest in costly backdrops.
A photography studio at home can be as big or as small as you need it to be. But you can even get a fabulous effect with an area that’s 2x1m (for models). For product photography, you can even have great success with a 1x1m area. As long as you get the backdrop and lighting in order, you’ll be fine.
📸 You may also like: the top things you need to know to make a photo shoot plan.
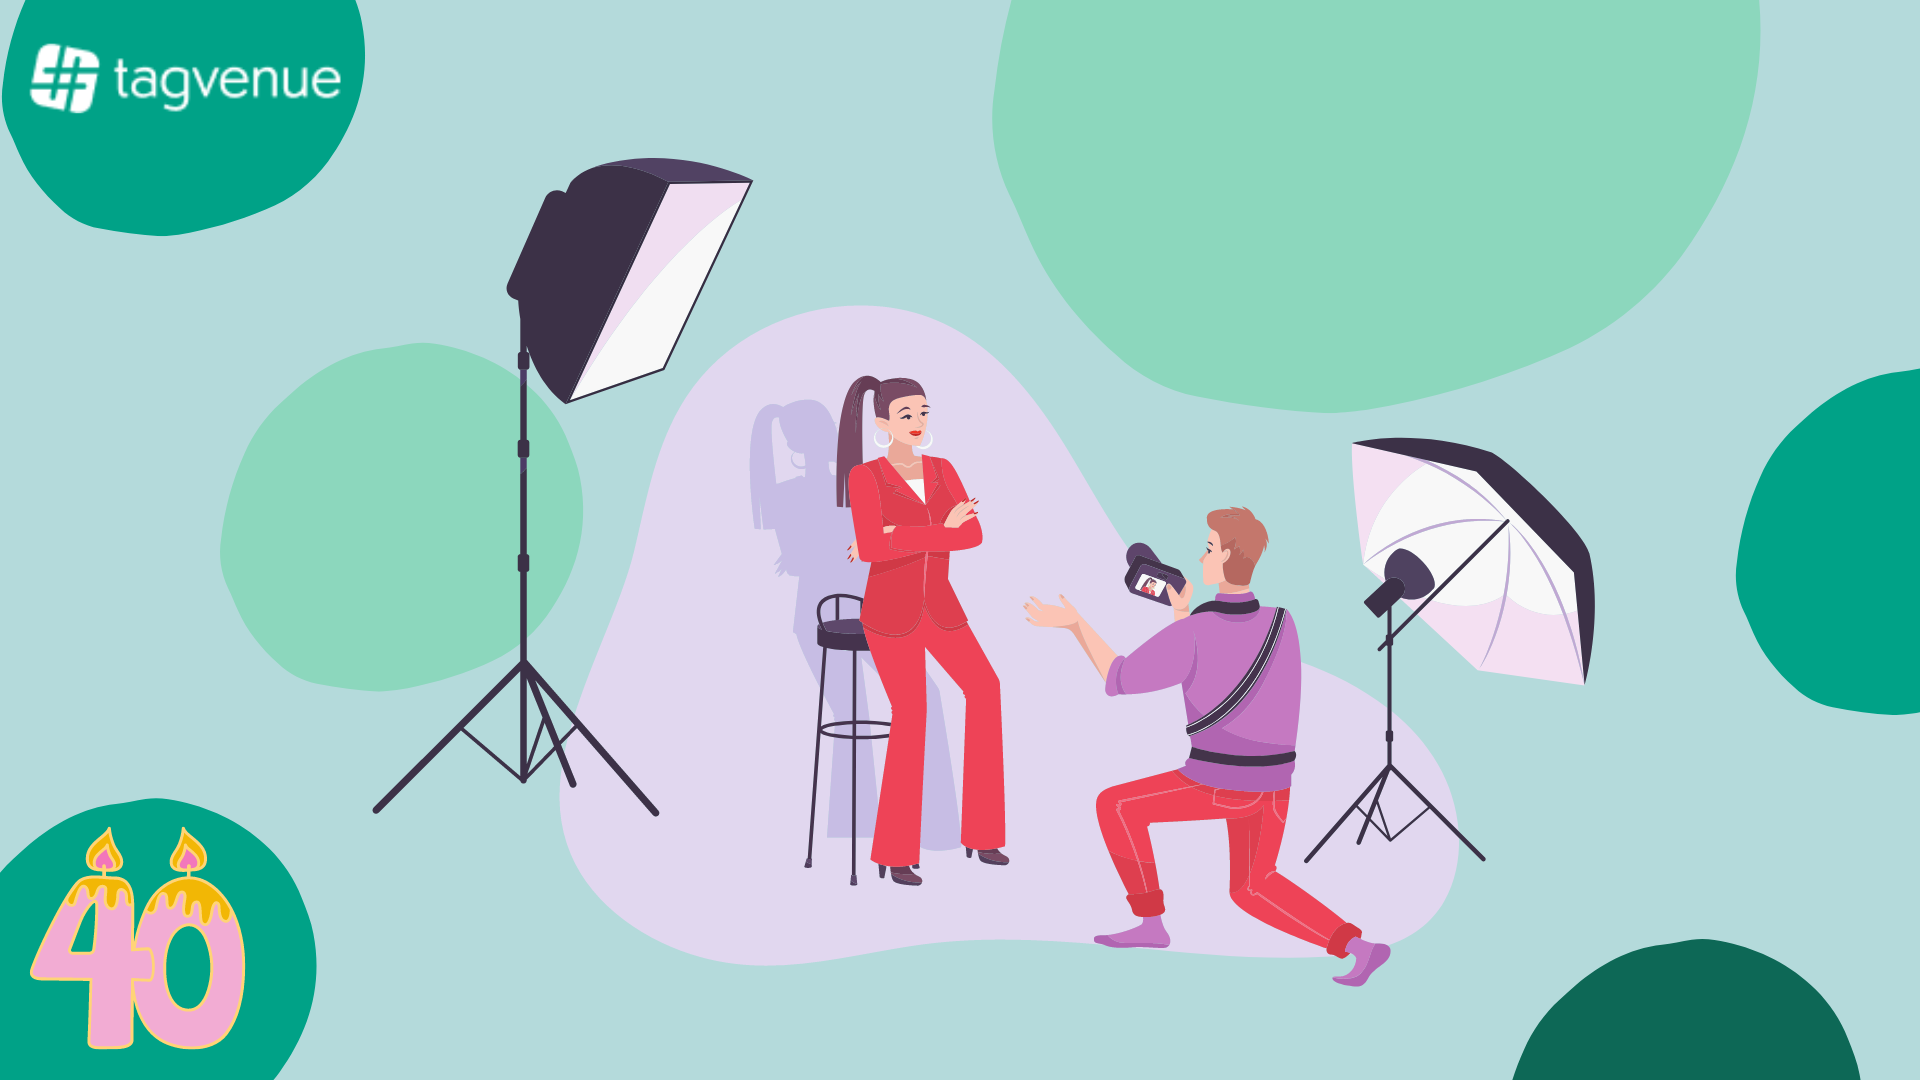
3. Lights, camera, equipment!
When it comes to gear, you’ll want to have the basics covered at the very least. The good news is that you don’t need a ton of equipment with basic studio photography. As long as you have some lights, a good camera, and a great backdrop, you can take some really decent photos.
However, as you get more comfortable with the setup and use more and more photographic equipment, your hunger for more professional gear will grow. So let’s go through 3 equipment options you can experiment with while setting up your photography studio.
Basic
Alright, let’s start at the very beginning. If you’re brand new to all of this, then make sure to learn any new photography vocabulary that you may not know. For example, learn about aperture, focal length, and shutter speed, know which software you have to use after you’re done shooting, and the differences between Lightroom and Photoshop.
Get to know why your photos can turn out blue, and learn what white balance is. Check out why you sometimes have grain in your pictures, and other times not, even though you only turned your camera to a slightly different light source.
Once you master photography vocabulary, you can jump to the next part.

Camera and Lenses
We’ll take a wild guess that you’ve already worked with some type of camera before you decided to rent a studio (unless you really are a total newbie, which is totally OK). Whether you’re shooting with a Canon, Nikon, Sony, or any other camera, you’re going to want to invest in some additional lenses for your studio photo shoot.
Remember that the kit lens that came with your camera is not going to be enough, especially if you want to take some beautiful photos with a blurred background.
Go for 50 mm and 85 mm prime lenses if you want to achieve the lovely bokeh look and bring out all the model’s features in your photos.
Lights
When you enter a studio, or create one for yourself, the first thing you will want to do is check out what basic lights you will need in order to make the photo shoot a success.
We recommend having at least three types of lighting equipment if you’re just starting out. These are: a key light, a fill light, and a backlight. These three lights are going to ensure that your subject is lit up from all around and that there are no harsh edges in your photos.
The lights will also remove any bad contrast and make sure that your subject is softly lit. Of course, if you want a different result, you don’t always have to use these three lights. But most of the time, this will be the main setup when working with models.
- The key light
This is the main light source for your subject. It highlights the area of the face that you would like to focus on during the shoot. The key light is usually the brightest out of all the three (or more) lights that are on set.
- The fill light
This is the light source that fills in the dark parts that the key light doesn’t have access to. When you switch on the key light in a dark room, it will illuminate only the front of the subject, making a high contrast and exaggerating the dark parts. The fill light is going to soften the harsh lines and shadows, making the picture much softer and nicer to the eye of the receiver.
- The backlight
This is the light that illuminates the space behind the model. It helps to distinguish the subject from the background. In many cases, you will be using LED lights which will provide illuminating colors like reds and blues. This light helps to make the picture more three-dimensional.
📸 Read our guide to natural lighting photography!
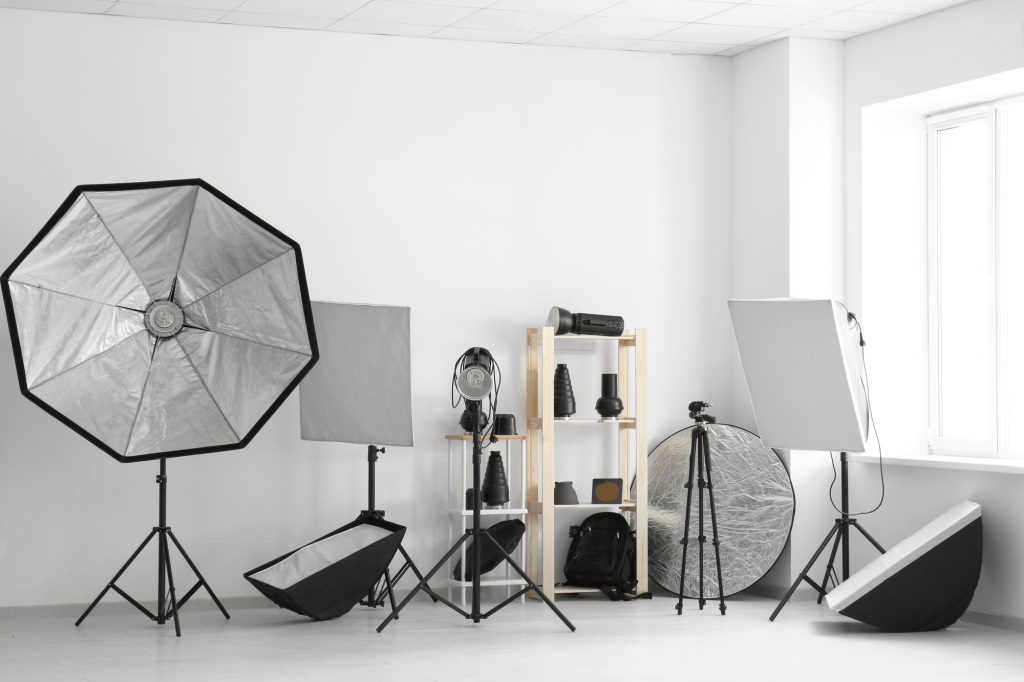
Other equipment
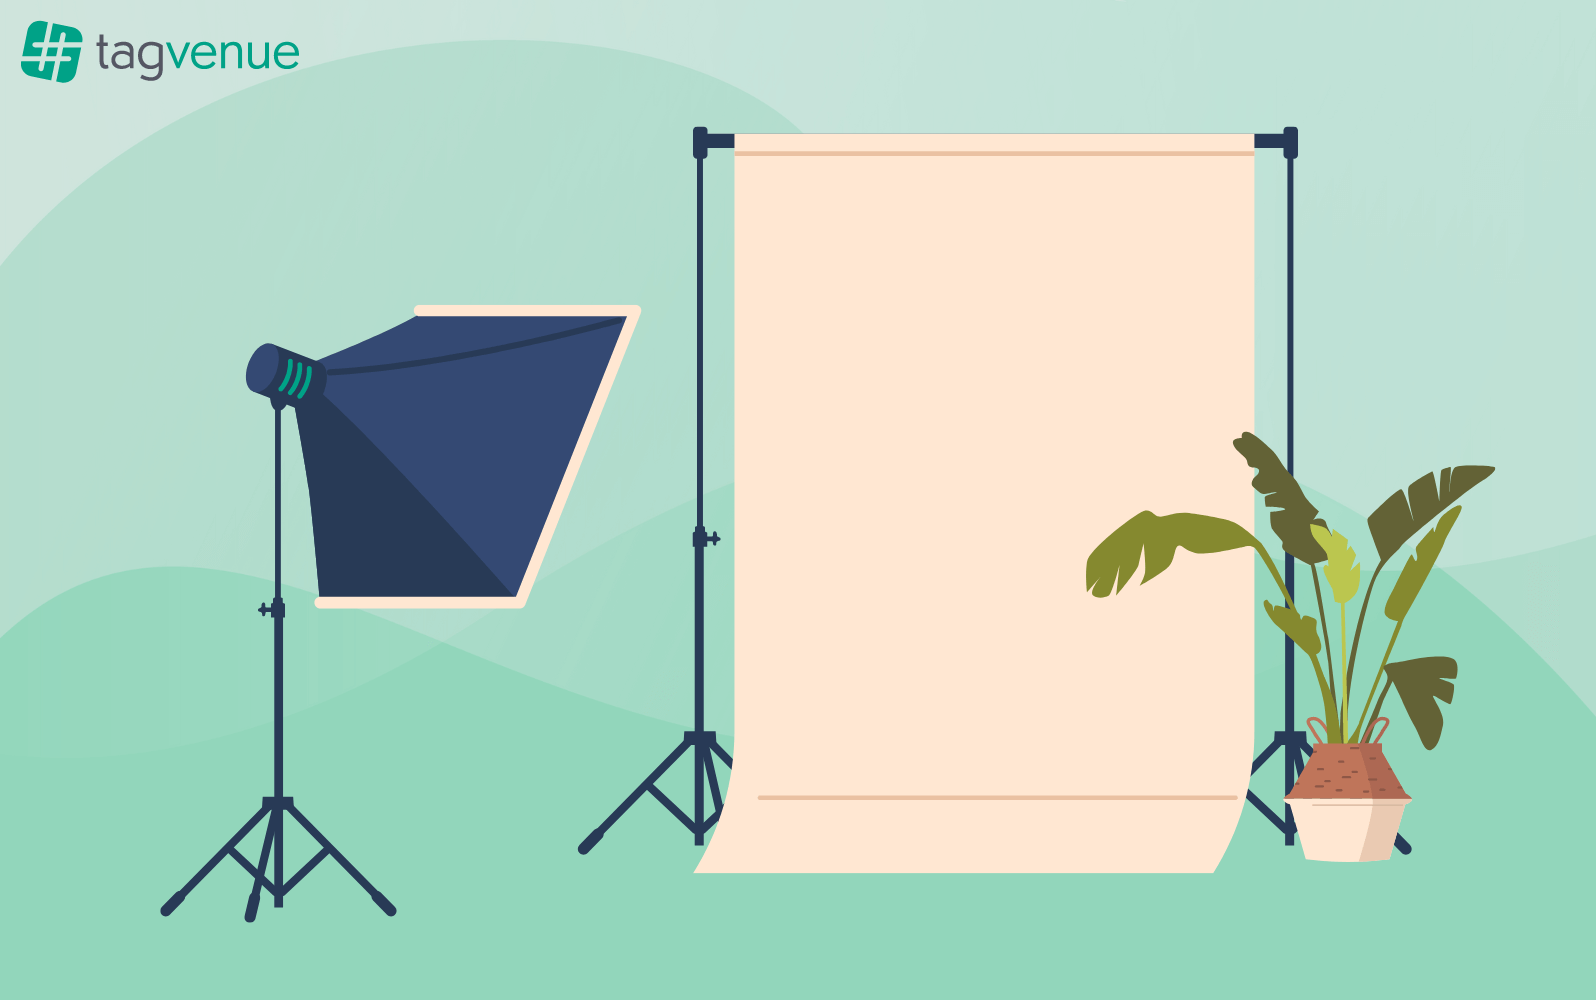
Last but not least, you’re going to need light stands. One for each light. Make sure you have the correct heights for all of them so that you have enough maneuvering space to light up the photo in the correct spaces.
And the last thing you will need are lighting modifiers. You can choose from among umbrellas, soft boxes, or octaboxes – take your pick. These are going to diffuse the harsh streams of light, and make the different tones look even nicer on your subject’s skin.
So to sum up a beginner’s set-up: choose the correct lenses, and make sure you have a key light, fill light and a backlight, light stands, and light modifiers. This basic photo studio setup is great whether you have your own photography studio or plan to rent one with Tagvenue. Well, that’s it, you’re set to start!
Advanced
Now that you have mastered the basics, you can move on to the more advanced photo equipment. The basics are amazing at the beginner level, but if you want to try and make the photos look a little more polished, then you’re going to want to check out these next suggestions.
Hair light/ Separation light
This light is a small light source that falls only onto a small part of the subject’s face or hair. The light stream highlights the details in the pictures, so if you’re going for a particular look and you know where you want the light to hit, a hair light/separation light might come in handy.
Camera mounted flash
This can be used as an additional fill light during the shoots. Compare the effect of photos with and without it. A camera-mounted flash will be a slightly less controlled variable when it comes to shooting since you won’t see the effect until after you take the photo (in comparison to other lights which you can see in the preview before you shoot).
Step ladder
In some cases, a ladder will be needed, but in others not. If you have enough room to use a step ladder, we recommend bringing one just in case. The step ladder will give you the opportunity to shoot photos from a different perspective. It can be a little dangerous, though (especially around professional equipment), so watch out.
Fans
If you want a lovely effect on your photos, with the model’s hair being blown by the wind and the overall image looking dreamy and flowy, then using a fan is the way to do it. Remember to have a natural look, though, and don’t make the wind too strong so it doesn’t look fake, bad, or tacky!
To sum up an advanced set-up: take everything we mentioned in the basics section, try some additional lights, and involve some extra props like ladders and fans.

Professional
Once you have the advanced gear under control, you can try to take your photo-taking skills to an even higher level. But the most important thing to remember is that it’s not the equipment that makes the photos look good, it’s the photographer!
But if you’ve really got the hang of all the gear we mentioned above, go ahead and experiment with more advanced equipment.
More lighting equipment
Lighting equipment can become a nuisance at times. You need to know what to use, when to use it, and how. So what other light sources can you work with? Well, you can use natural light (like a window light), ambient light, strobe lights, or modern LED lamps, and a few other things.
A professional studio setup also needs more light modifiers, light diffusers to diffuse bright lights, and equipment to block unwanted light.
Special effects
Don’t forget that you can also try some SFX make-up and create photos that will offer a great base for adding special effects after the shoot.
To sum up a professional set-up: everything in the basics and advanced section plus (even) more lights, modifiers, and diffusers. You can also shoot your shot with editing, make-up, and special effects.
4. Make that backdrop poppin’
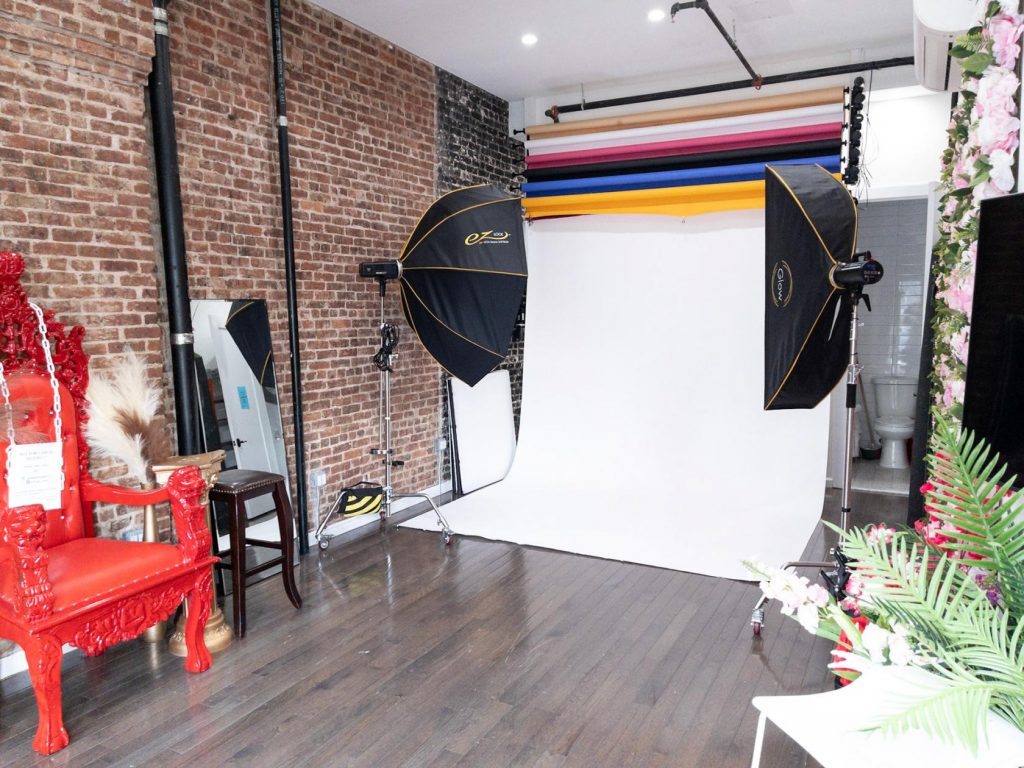
While most beginner photographers opt for a white background, which is the most universal and beginner-friendly, there is nothing wrong with making more of a statement, even on your first try.
If you have the option, decorate your background, check out what props can be put in the background of your photo and what colors you can use to spice up the pictures. You can also play around with lights and have a stream of blue or yellow light up the subject of your photos from behind.
Remember not to match the backdrop colors with the model (or object) that you’re shooting – it will make the photos look flat and the main focus of the images can get lost. Get creative, but stay cautious!
5. Creativity is key
The best part about setting up a photography studio is that you can get as creative as you’d like. A blank canvas studio will give you the opportunity to make your imagination run wild. So, what types of things can you do?
- Don’t be afraid to try some DIY. When it comes to costumes, decorations, and backdrops, you’d be surprised what types of things people come up with and sometimes just how affordable they can be. Homemade accessories, details on clothes, altered materials, and decorations that just cost a few bucks, can make a world of difference in your photos.
- Try adding a mirror into your pictures and play around with the reflection to create beautiful, unique shots. You can place it in different parts of the studio, or try to lay it down on the floor and see what results it brings you. A similar effect can be done with water. Milk can also give a beautiful effect in pictures when used correctly.
- Bring in some unique props. You could even try to bring furniture, such as vintage chairs, tables and even a bath if you happen to have a portable one that would suit the shoot. Does the studio allow animals? If a furry friend is what your photo shoot is lacking, then why not give it a go?
The sky’s the limit, and if you’re lacking inspiration, then check out like Pinterest. When it comes to creativity, it’s good to get inspired by other people. One idea will lead to another, and before you know it, you’re going to have something that no one’s heard of before!
📸 You may also like: 16 Useful Studio Photo Shoot Ideas to Stand Out From The Crowd
6. Filter it out
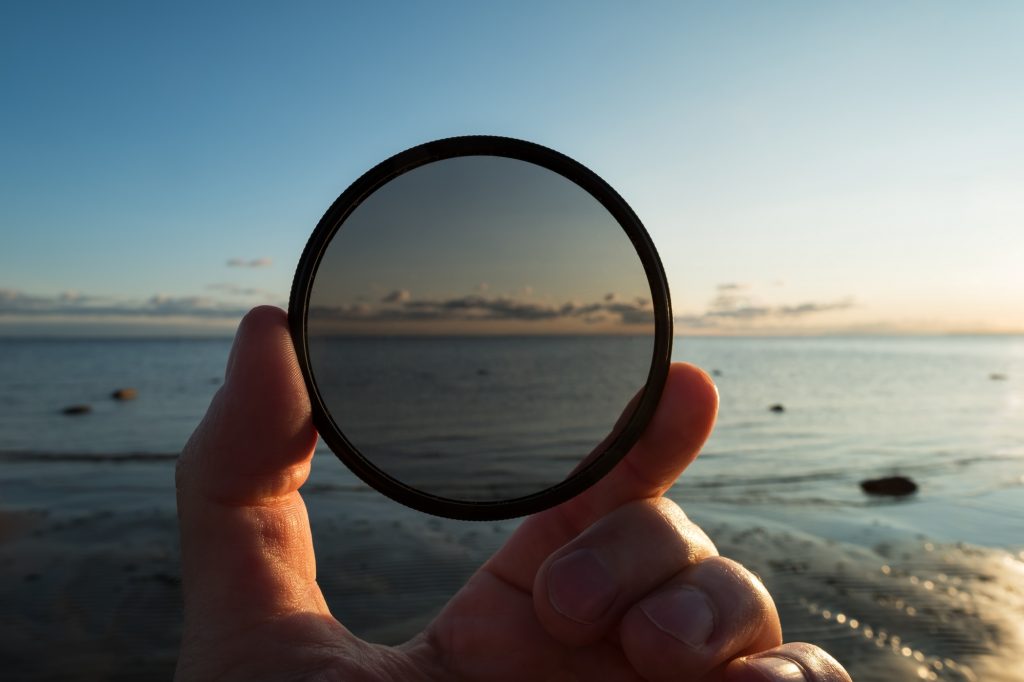
When in doubt, filter it out. We’ve got to say filters are a must in any type of photography. There are so many missed opportunities simply because beginner photographers don’t want to bother themselves with extra pieces of equipment. But we are here to tell you that there is absolutely nothing to be scared of.
Filters are very, very affordable pieces of equipment. With starting prices of $20 to $50 per filter, you truly don’t have to invest a lot of money in order to give your photos a unique spin and a beautiful look. Filters are easy to pop on and off, and they can even sometimes make or break your photo shoot.
We know how hard it is at the beginning to get everything right, e.g. the correct focal length, the right white balance, and the color correction process. It can all seem so unnecessarily complex. But if your photos are turning out a little strange looking, you can always try using filters to make your pictures look a little more musky, colorful, or simply unique.
Do your research on some basic ND filters, such as the ND2, ND4 or ND8, which are great for portrait photography. You can also check out the graduated color filters, which create a gradual change of colour in your photos.
And if you’re not feeling the prices but still want to get creative, there are a ton of tips on how to DIY your filters. Our favorites have to be fishnet stockings and Vaseline.
When it comes to fishnet stockings, you can put them over the lens, so that they create a blurry, checkered shadow across your image. The effect is perfect for romantic photography.
A similar effect is achieved when the lens is cracked but we do not recommend destroying any equipment!
As for Vaseline, it’s great if you want to have a nice blurry effect on the photo. Usually it looks best if you apply it only on a small part of the lens. It’s easy to wipe off, just make sure to be careful when you touch the lens directly.
To Sum Up
Setting up a photography studio may seem like a daunting task at first. There is a lot to plan, and a lot of work to do. But as long as you have the right help and motivation, you should be able to do it without many problems.
If you implement the ideas we mentioned here today, you should expect to have a fantastic time during your photo shoot.
Still need some more info and inspiration? Check out the FAQ below.
FAQ
Do you need a big studio to take photos?
The answer is: it depends. If you’re planning a big project, then a small studio is simply not going to cut it. But if you’re planning to shoot with a small crew and just a couple of models, then you don’t need a huge space for the photo shoot to be a success.
Do I need photography experience if I want to set up a photography studio?
Photography experience is definitely nice to have when setting up a photo studio. But it is not necessary, if that’s what you’re worried about. Getting some experience as a photographer is great in any setting. And in all honesty, if you get your practice in a studio, you’re going to feel so good about how your photos turn out.
The number one thing that discourages beginner photographers is the difficulty of producing good looking photos. A photo studio is definitely going to make the whole process much easier!
Can I set up a photography studio on a budget?
Setting up a photography studio can seem a bit pricey. The space, the crew and the equipment can be rather costly. But is it possible to make the process more affordable?
The answer is: absolutely yes.
Try to rent or borrow equipment or hire a budget-friendly photo studio on Tagvenue which has all the equipment already. You can also get in touch with friends or make some good photography contacts, negotiate prices or try out for scholarships. There are always options to make the process more budget-friendly. You just have to look for them!
Who should be involved in a photo shoot?
In a professional photo shoot, you would expect quite a lot of people to be involved. But we’re not thinking too much about a professional crew. In all honesty, you could have a helper and a model during your shoot, and you’d be good to go.
But if you want to have a few more people involved, you can always opt for having a hair and make-up artist, set designer and semi-professional models. As you keep getting more experienced, you can also try to get a prop stylist, wardrobe stylist, lighting assistants and digital technicians.
Don’t go overboard with your first couple of projects though, you’ll be able to do just fine with a small crew!
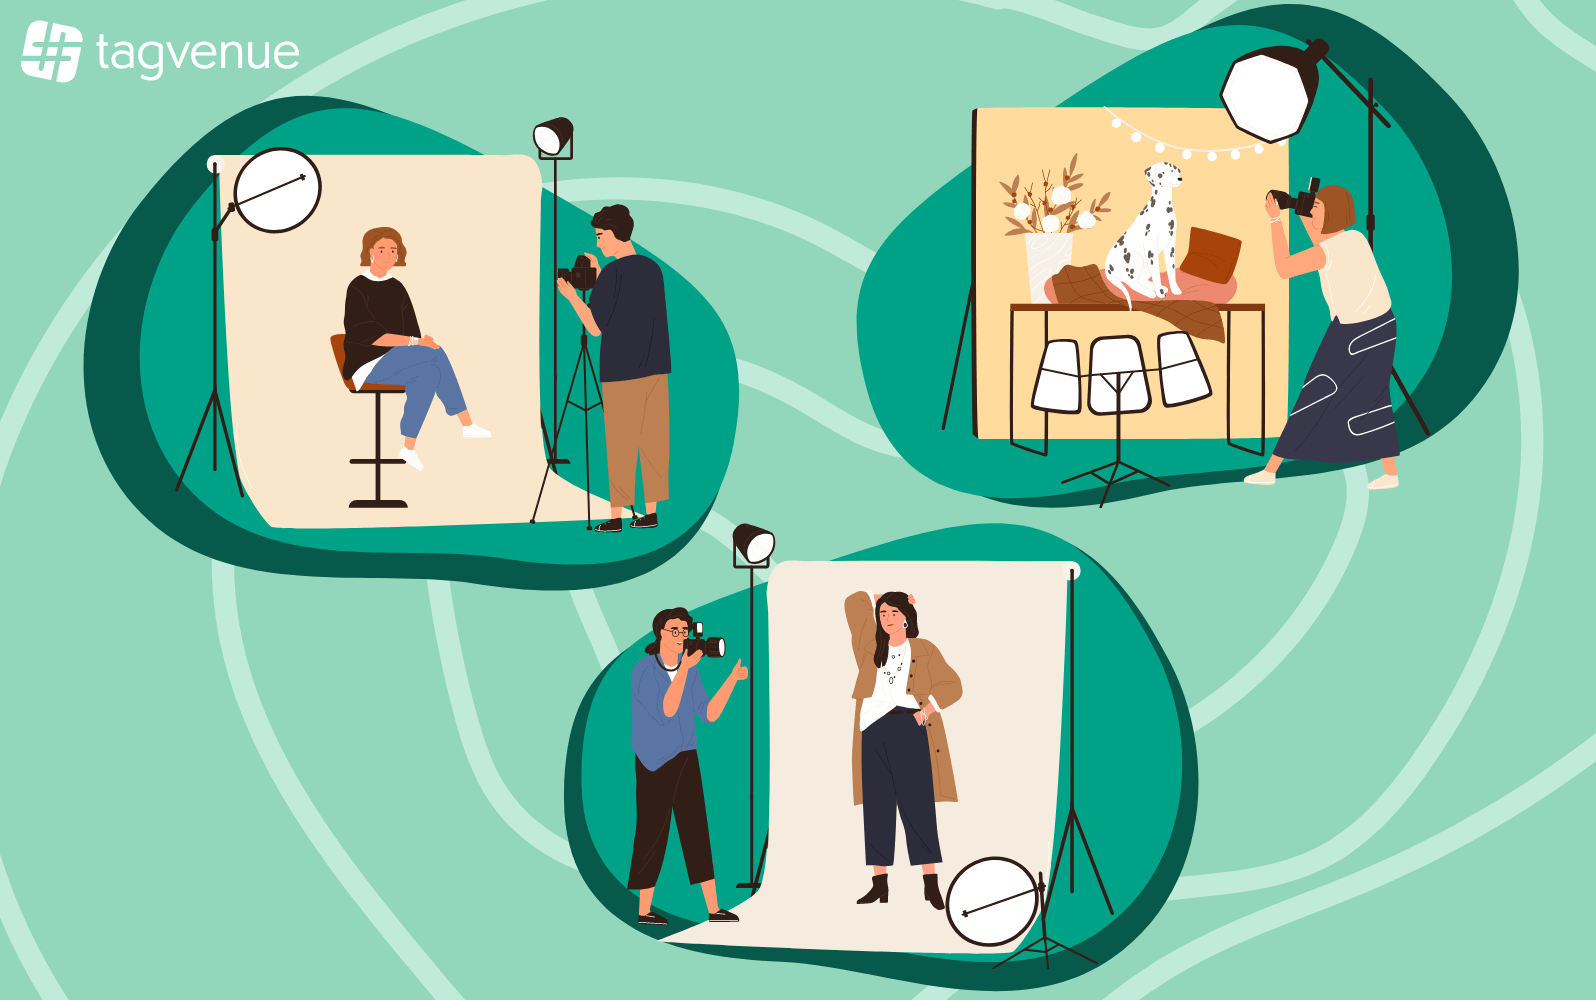
What types of photo shoots can I make in a photography studio?
You can opt to shoot portrait photography, pregnancy shoots and newborn photography. You can also try a bit of commercial and product photography. Go ahead and also try editorial or traditional fashion shoots. Let your imagination run wild!